
Due to the complexities of launching a full rocket, I have split up this report into 4 sections:
R-15
Igniter, Type IIb, HQ
Launch Setup
The Launch
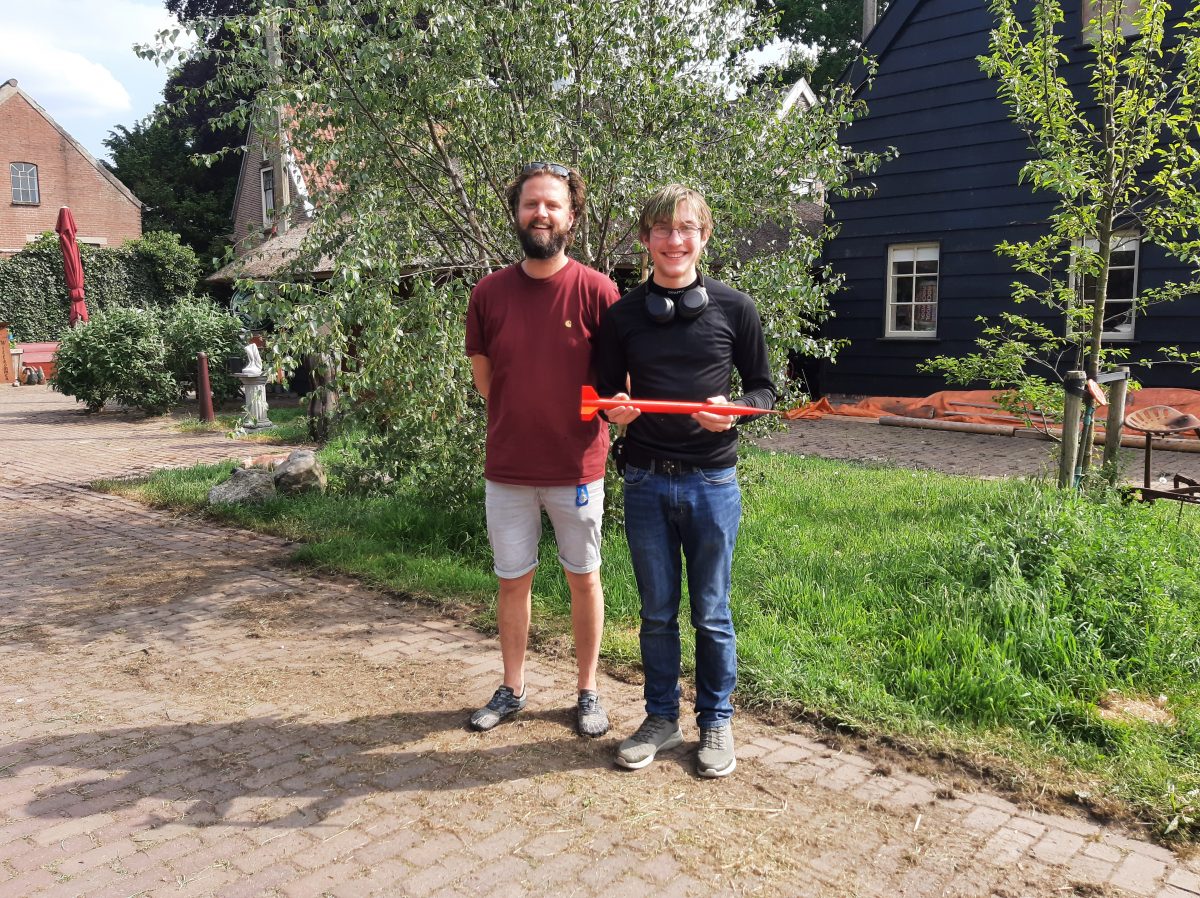
After years of development, and a month of preparation, the first fully successful rocket launch has just been completed.
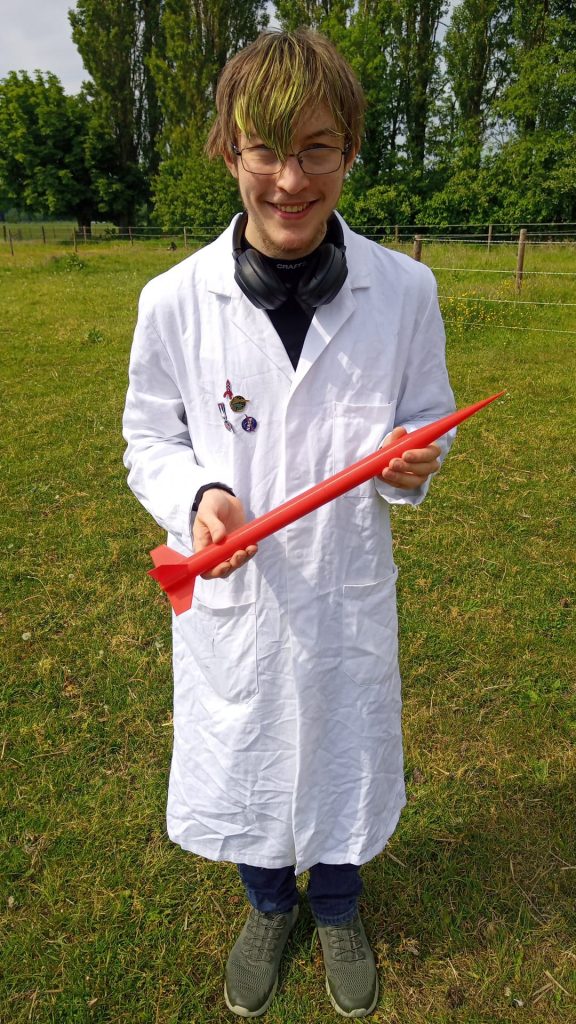
“Perigee” is the name I gave to BTIR-2 (Ballistic Trajectory and Impact Rocket), the successor to BTIR-1.
In short, it’s a aerodynamic shell that’s fired straight up, and then comes straight down.
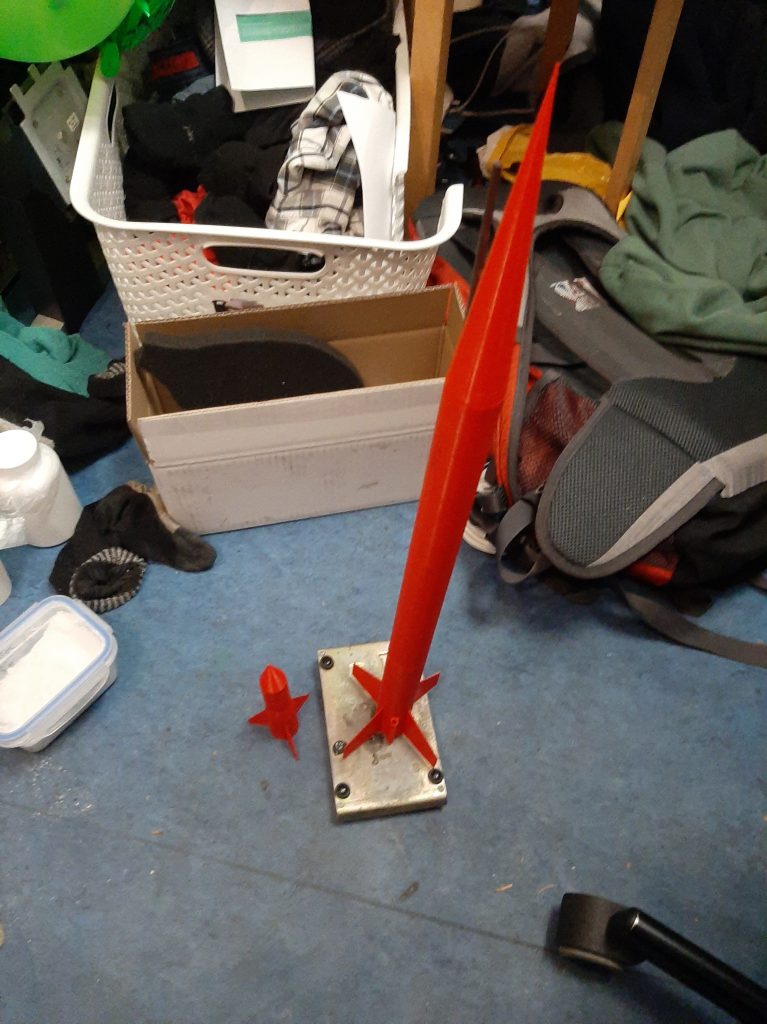
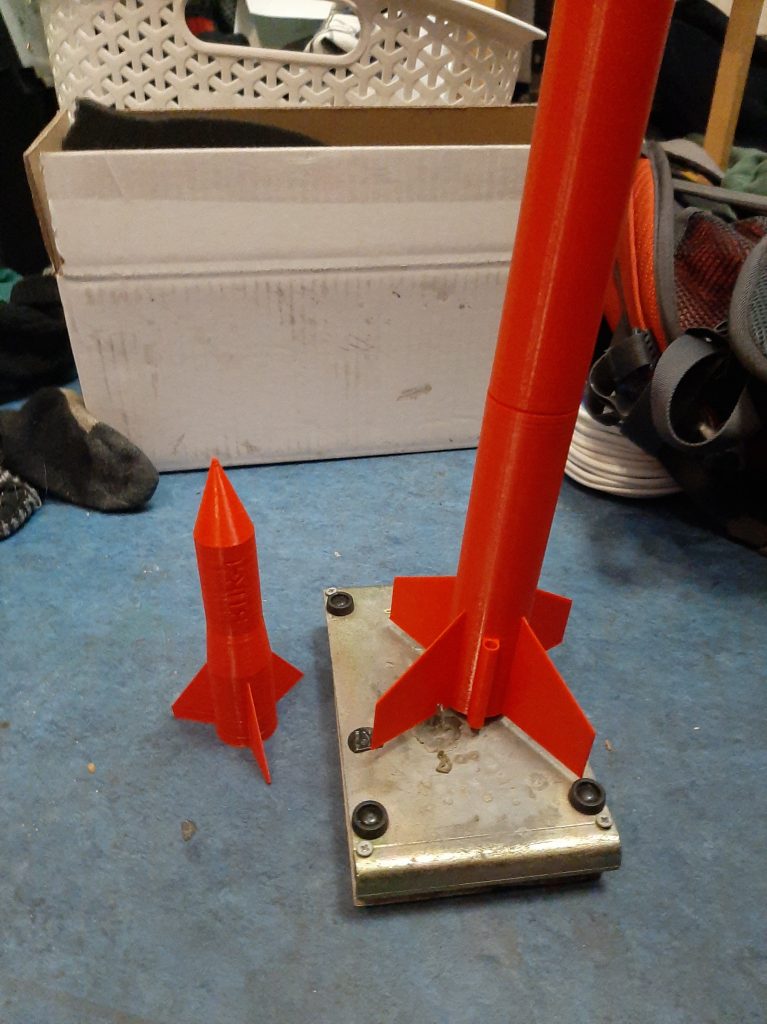
I’m terribly sorry for the dreadful state my room was in when I took these pictures
More information on BTIR-2 is available in its respective article.
The idea was to launch a simplified rocket, without a parachute system, to test the reliable function of the motor, the aerodynamic stability of the design, and to gain experience in planning and executing launches.
Today we succeeded in doing all three of those things.
A analysis of the actual flight, due to its complexity and some external time limitations, will be posted as a separate article at a later date.
With the short descriptor of what I’m talking about here out of the way, its onto the rest.
The most important part of any rocket is of course the rocket motor propelling the thing, hence we start with:
R-15
Perigee was outfitted with a now standard PM-19 Rocket Motor of my own design, which was built last month.
Motor R-15 was made using the same design as has been used since R-10, which has been standardized since R-13.
Blueprint provided for reference:
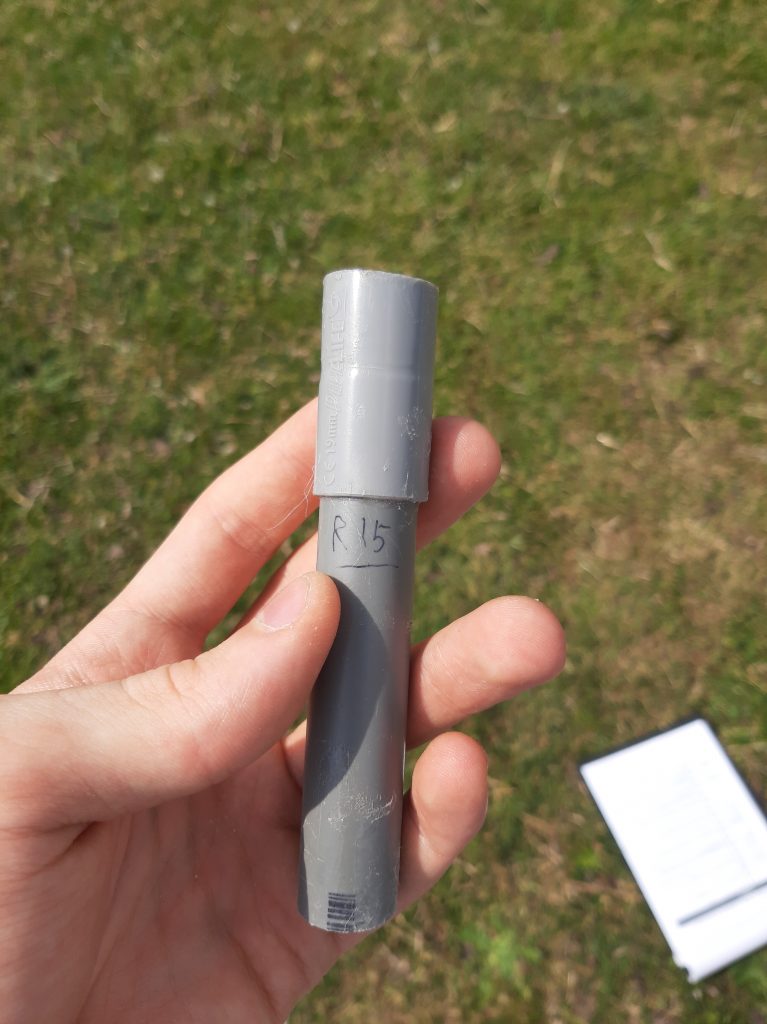
This is the first motor we’ve made that has been stored for longer than a few weeks.
It was made the 7’th of April, and was launched the 17’th of May.
As you will later observe, this had no noticeable impact on performance, most likely due to having been protected from moisture during storage.
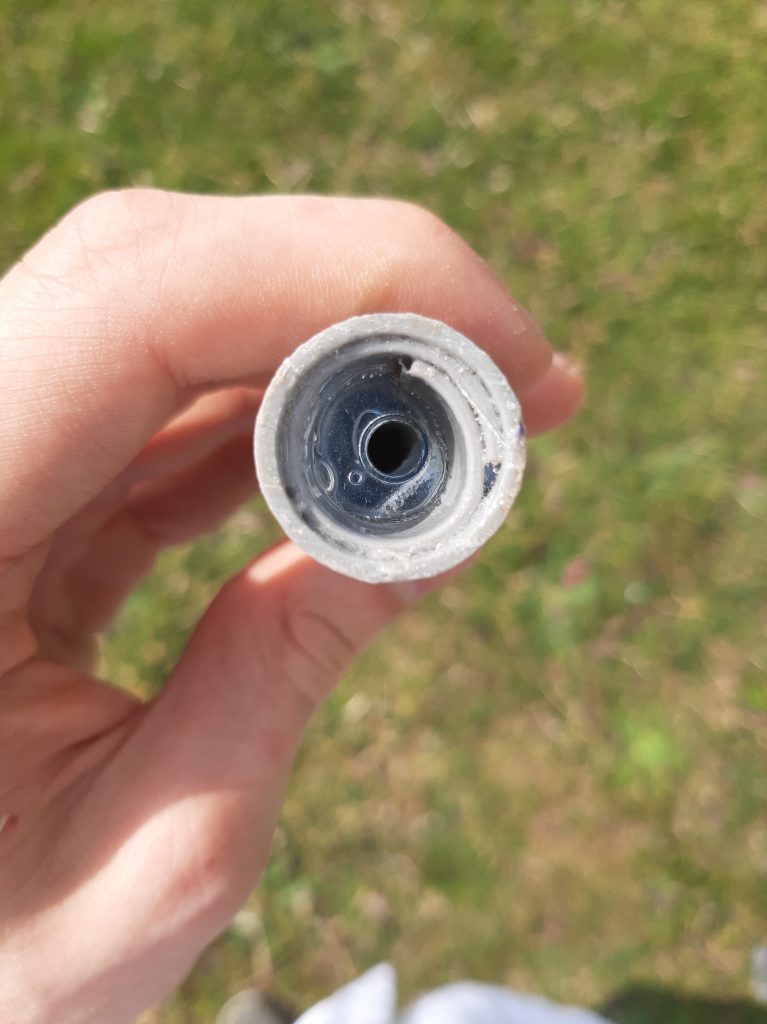
It was however noticed that some minor de-lamination of the bulkhead glue had occurred, presumably due to the temperature cycles when it was stored in a non climate controlled “Shed” the week before the launch, to simplify logistics.
This minor defect did not seem to impact the performance in any way.
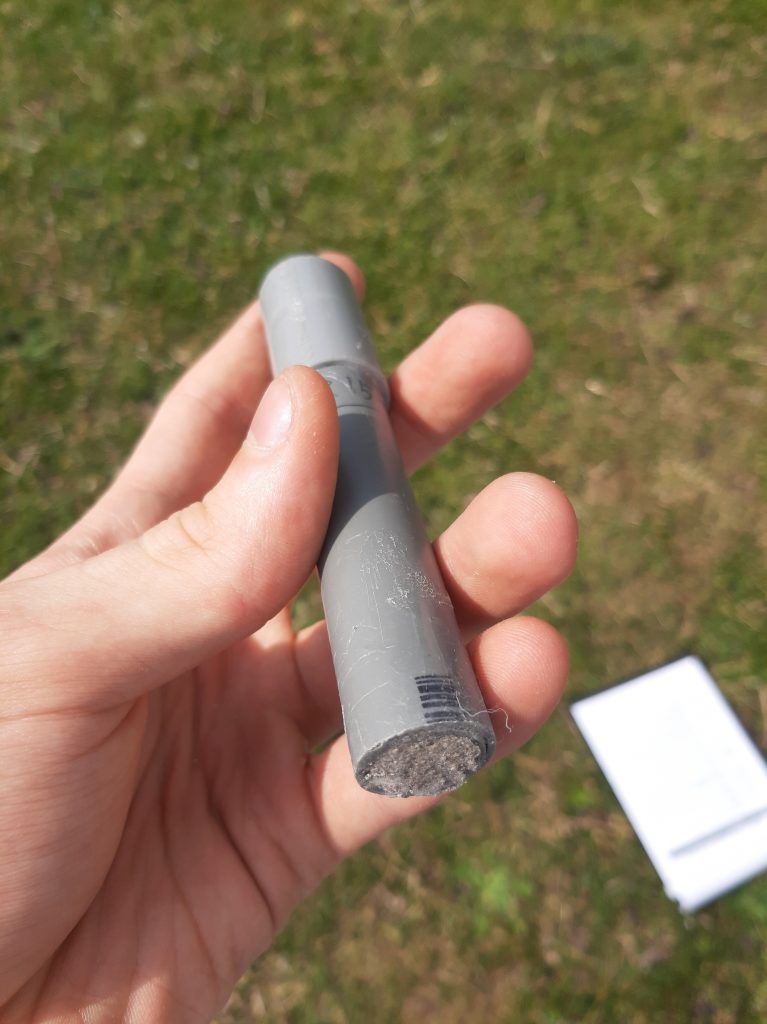
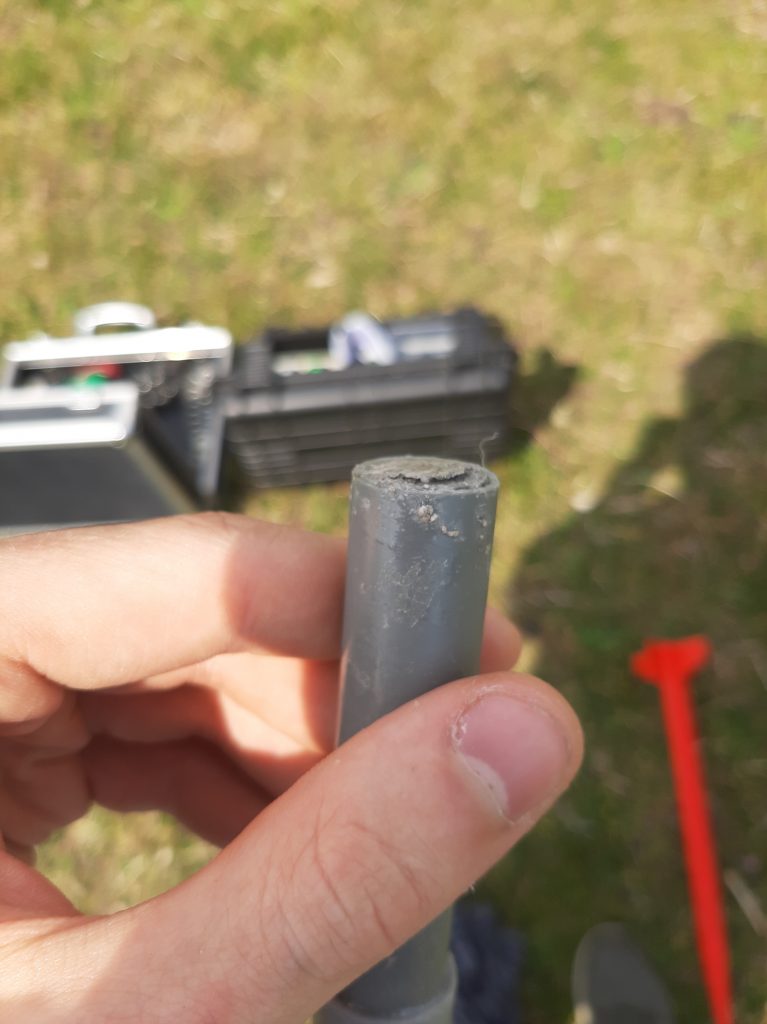
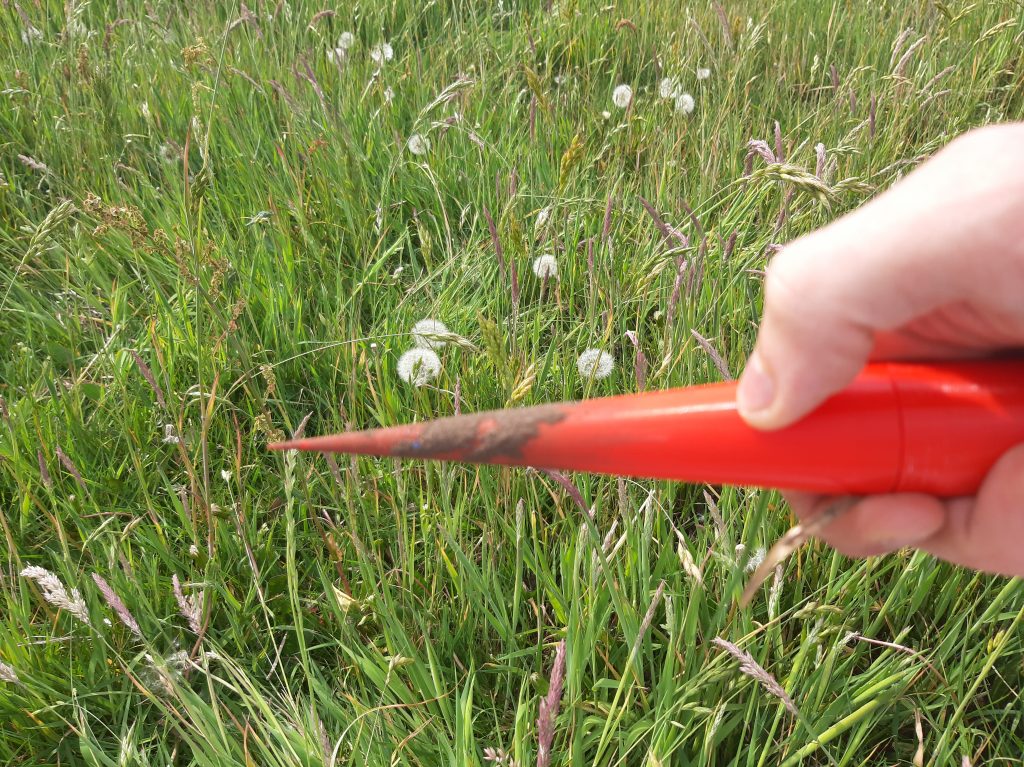
Upon further inspection, it was also noticed that a slight groove had appeared in the nozzle retainer.
My best guess is that it deformed from the heat of the freshly poured fuel, although I am unsure whether it was glued on before it had cooled.
This too did not warrant a abort of the launch attempt, so we soldiered on.
During the R-13 and R-14 static tests, a method was found and verified to ignite a motor in such a way that a large amount of thrust was generated in a very short period of time.
The breakthrough was using:
Igniter, Type IIb, HQ
The secret turned out to be simply inserting the igniter into the fuel grain, instead of having it rest near the top.
This results in a rapid buildup of pressure, which in turn promotes a faster burn rate, which increases pressure.
Normally optimal pressure would be obtained automatically due to the carefully calculated throat size in the nozzle.
However, certain manufacturing limitations limited this severely, so this internal ignition was devised as a workaround of sorts.
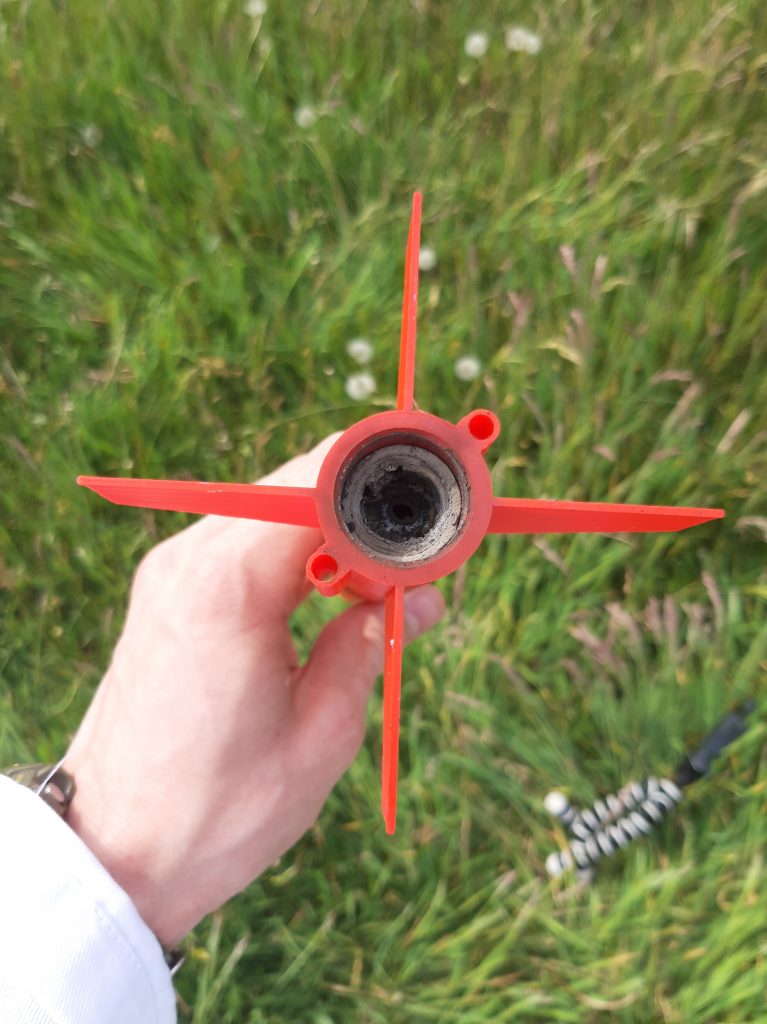
However, to fit into the fuel grain it first needs to fit trough the nozzle, which has a diameter of only 5.4mm’s.
To achieve this, the Type IIb is made to very precise standards.
A 1cm bit of 0.5mm nichrome wire is carefully soldered to twisted leads, after which all excess wire is stripped off to save space.
Then, the wire is wrapped around a 1cm bit of 1mm Visco fuse, ensuring no short circuit is made.
And lastly, it is wrapped in a small bit of cellophane, to protect the fusing from moisture, and hold everything securely in place.
And, before being accepted, it has to fit trough the 5.4mm washer to verify it’s insertion will not be hindered.
Due to the massive time investment making these High Quality Igniters requires, only 2 were made for this launch.
But, due to the aforementioned quality, these were almost guaranteed to work well.
Launch Setup
Due to scheduling issues and a school vacation, the launch could not occur until the 17’th of may, even though we were basically ready to launch halfway trough April.
However, when the probable launch date was relayed to me, work started immediately in prepping and packing for this event.
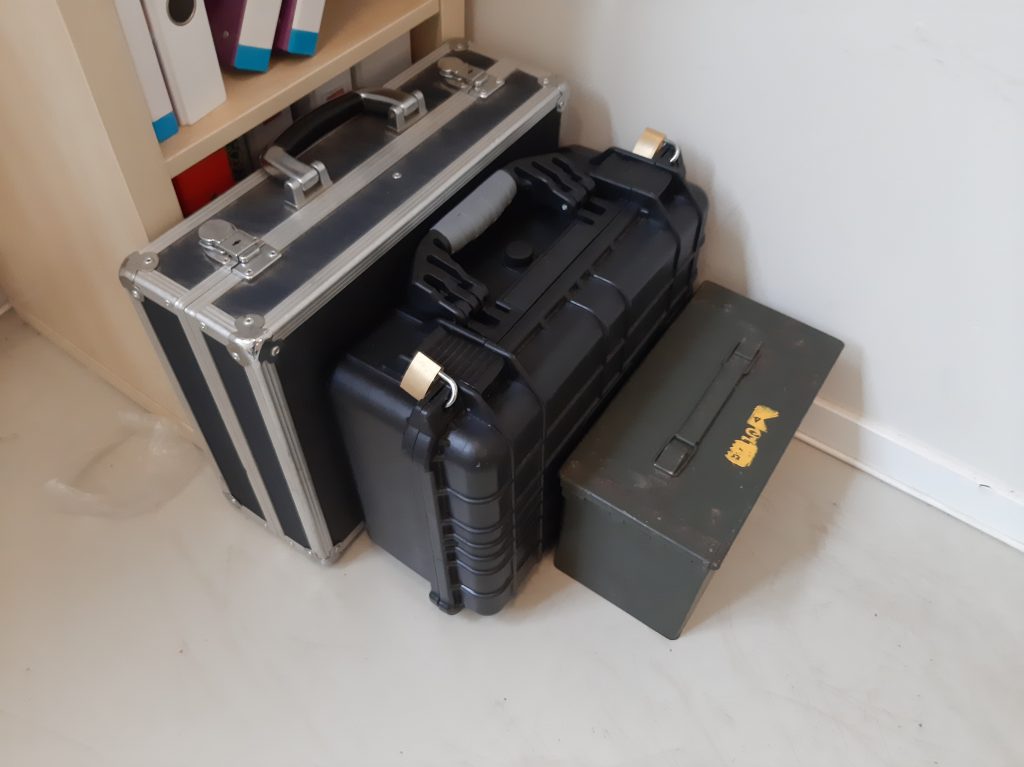
Featuring decorative padlocks
To make sure nothing was left behind, and that every action was accounted for, a selection of checklists and manifests was prepared.
These were carried on a clipboard to facilitate easier access
They worked very well, apart from the fact that its very hard to manage a clipboard and a launch site at the same time.
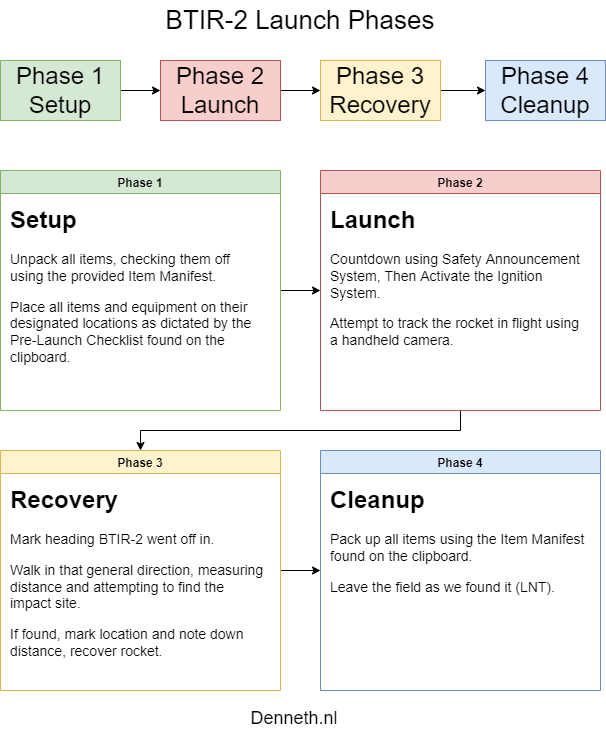
The launch itself was also divided into 4 phases, for more oversight
Another thing we had to be on the lookout for was the weather.
While scheduling a time to get together is all well and good, if its too windy, or even raining, the launch would still be called off (something we learned to do whilst attempting to test MM-38)
So the day before the scheduled launch, we had a “Go, No Go” where we used the weather forecast and some rocket simulations at various wind speeds to conclude whether it was worth it to gather at a field the next day.
We concluded it was.
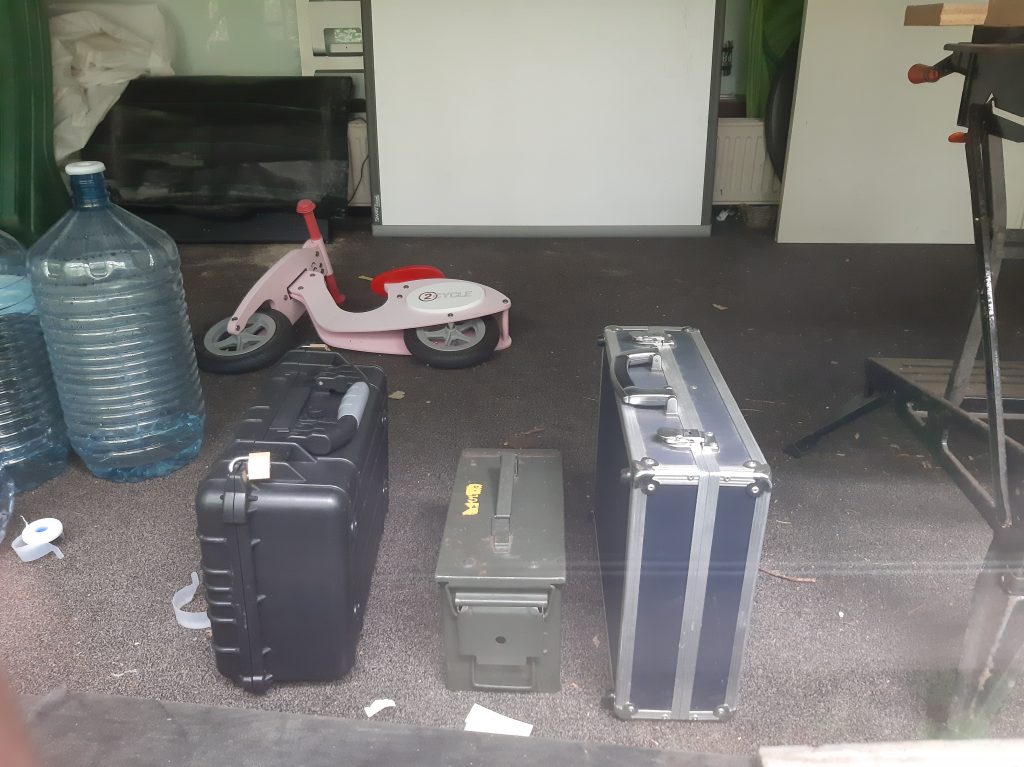
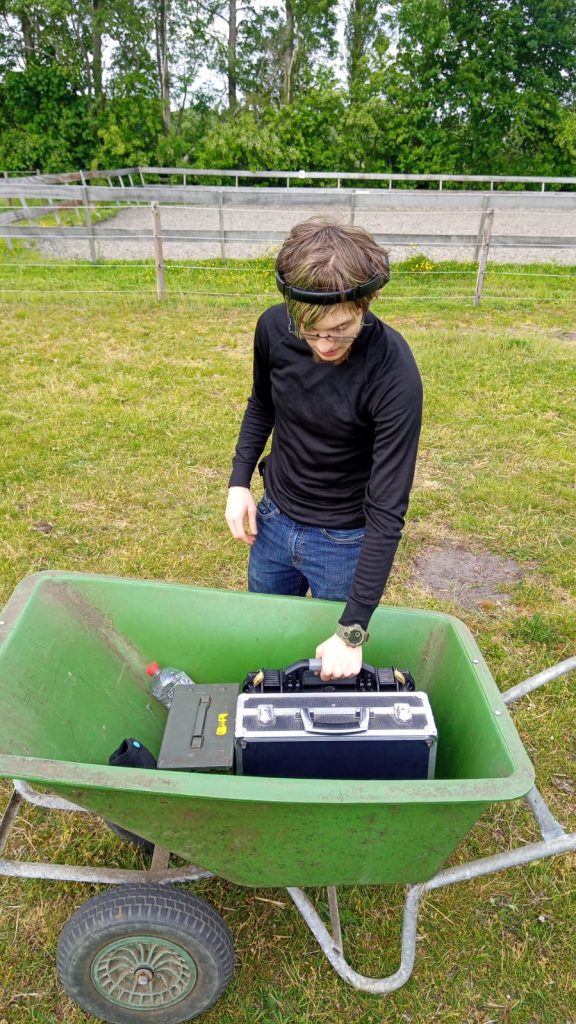
After the “Go” was given, we rendezvoused nearby, retrieved the equipment stashed there, and went off to the field.
First, unpacking the equipment:
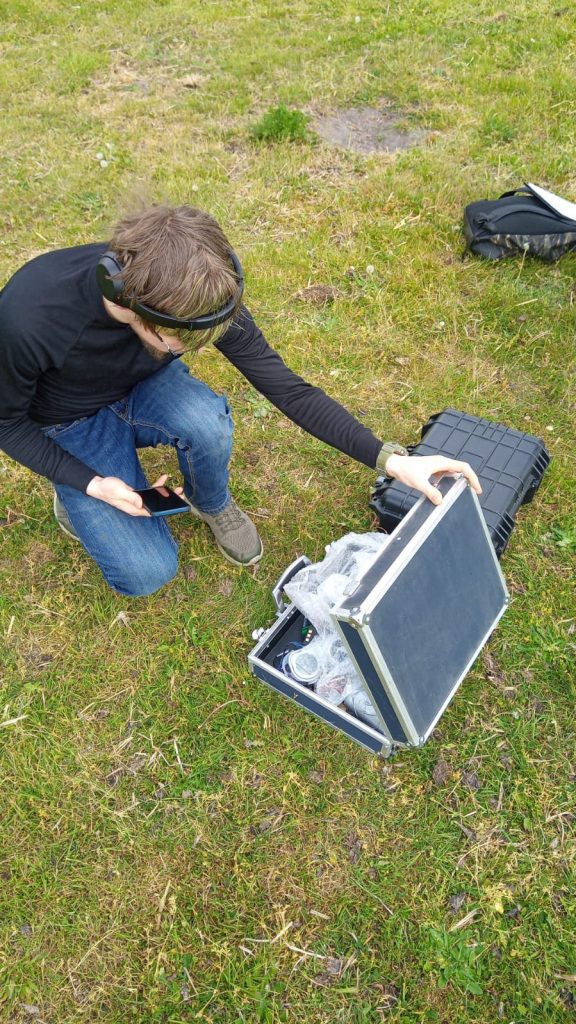
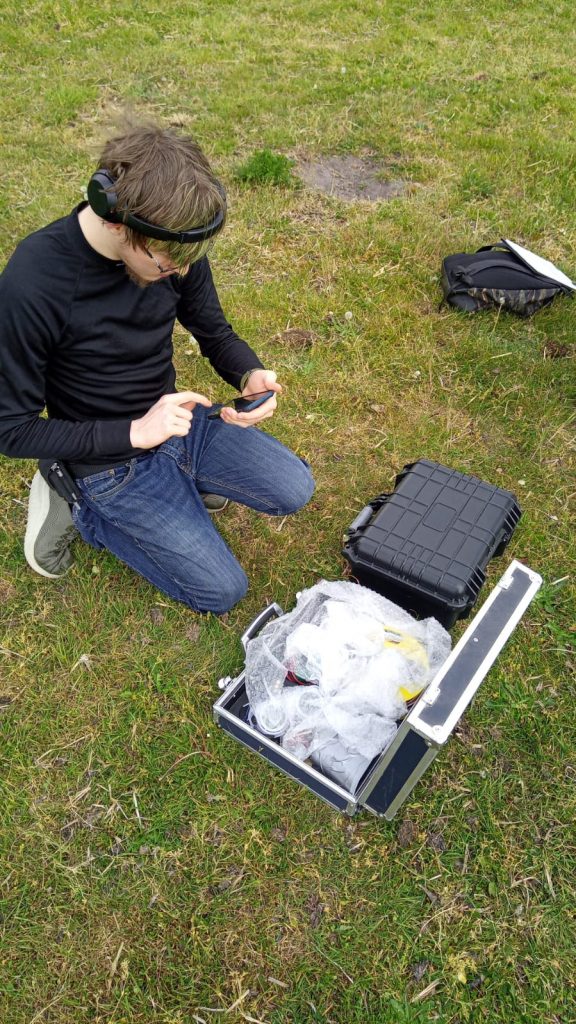
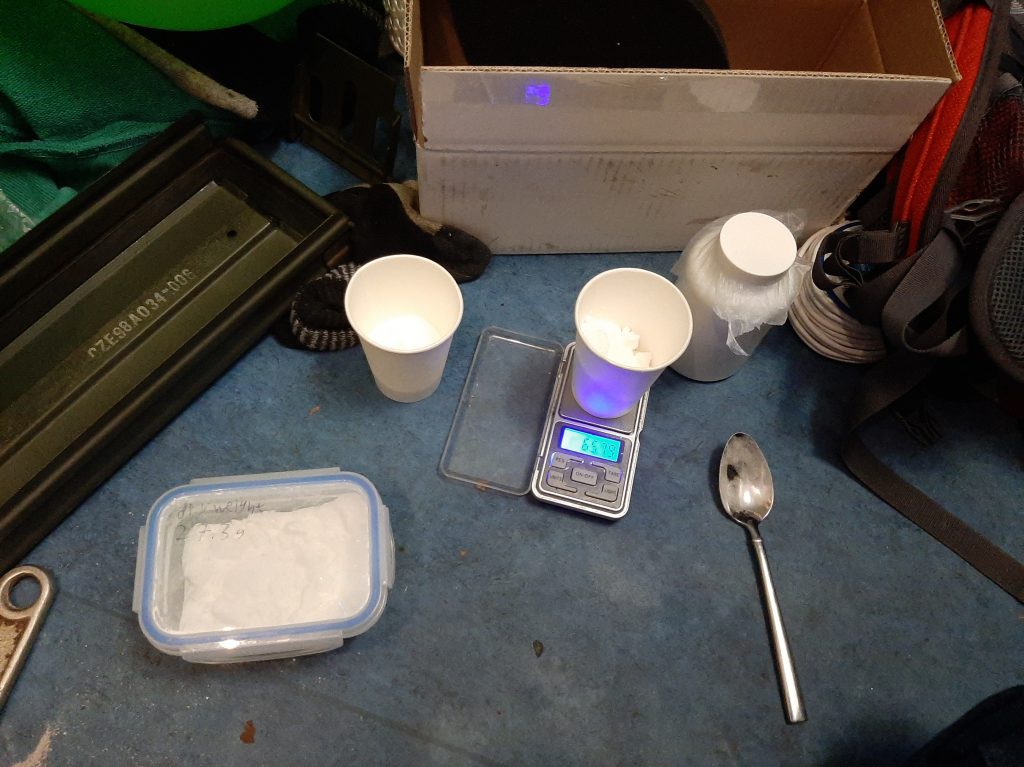
After unpacking the required materials, both BTIR-2 and R-15 were weighed:
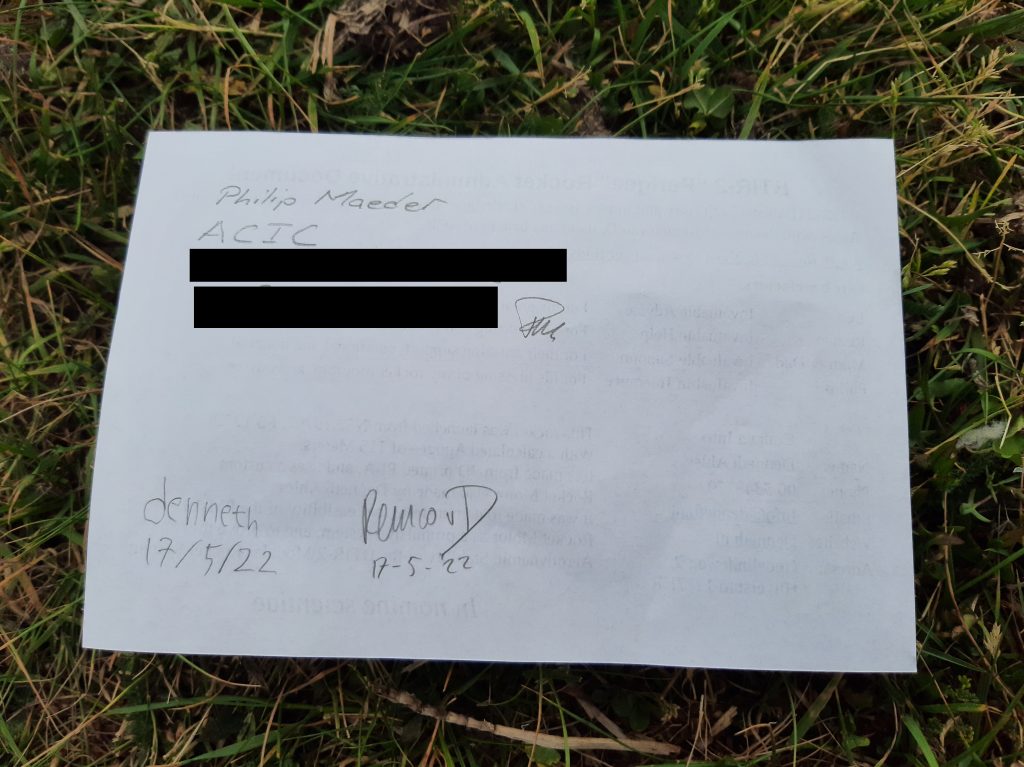
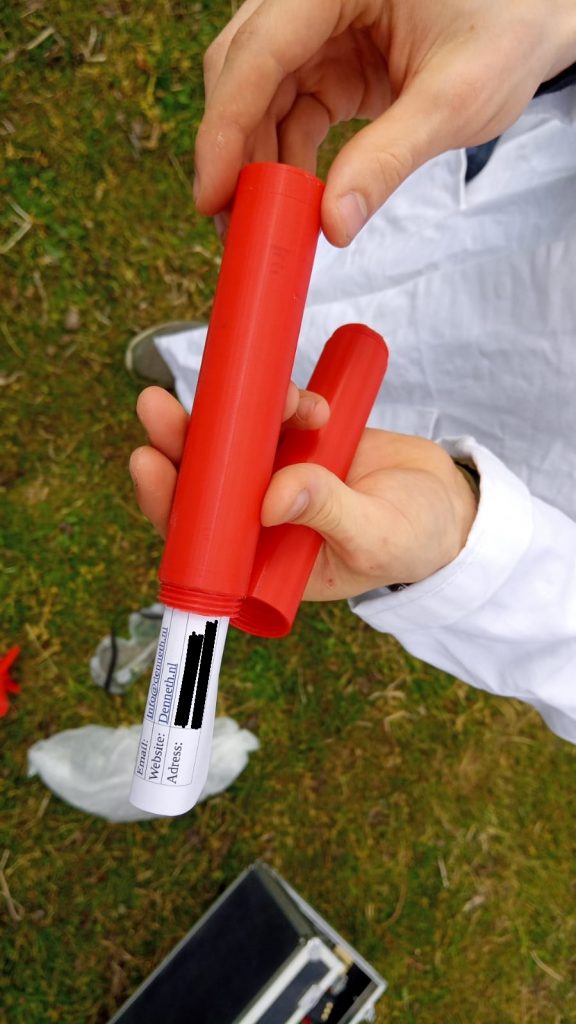
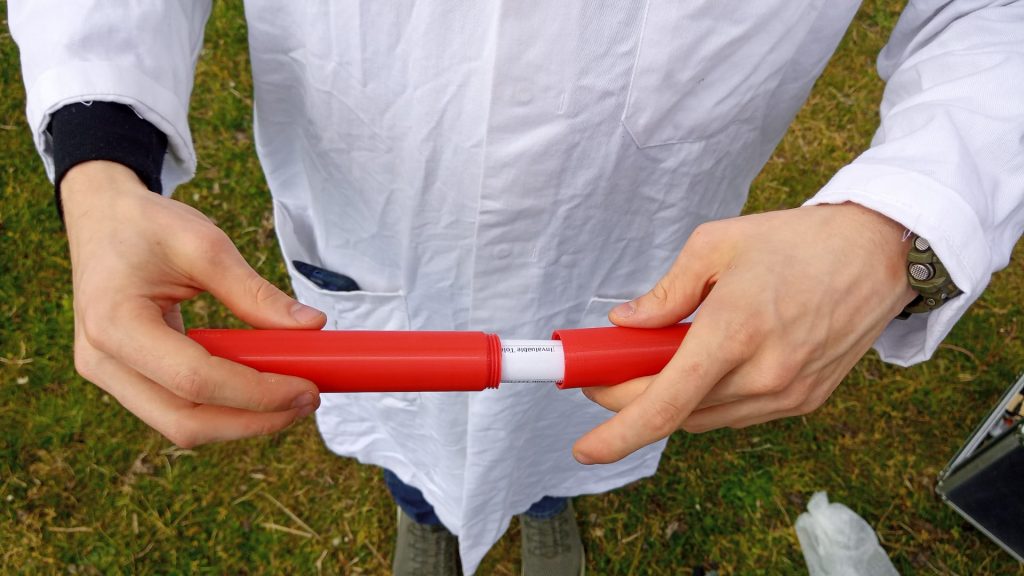
Since neither a parachute nor avionics were included in this launch to reduce complexity, the entire length of the tube remained empty, which offered a great opportunity to add a small payload anyway!
Due to the harsh impact which was expected, and the uncertainty on where it was to come down, it was decided to kill 2 birds with 1 rocket and launch a piece of paper containing my contact information (in case the rocket came down somewhere untoward, or we were otherwise unable to recover it), and the names of the people who made this possible in the first place.
For what is a higher honor than having your name launched some hundred meters high on the rocket you made possible.
With the payload inserted, it was time for the motor.
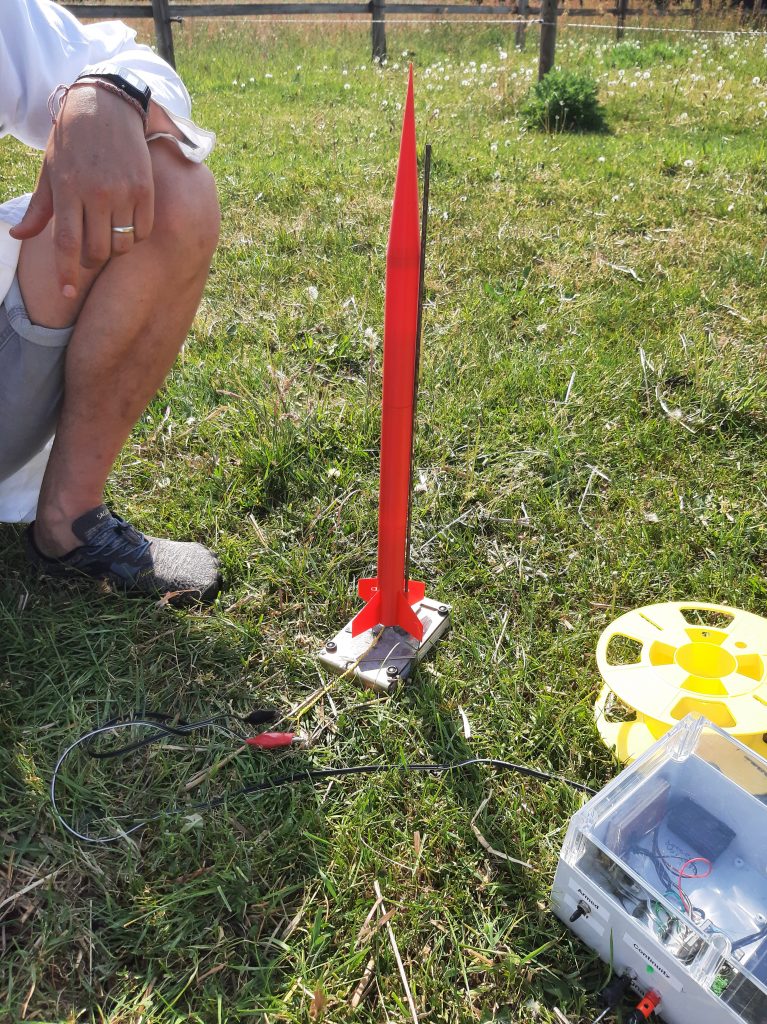
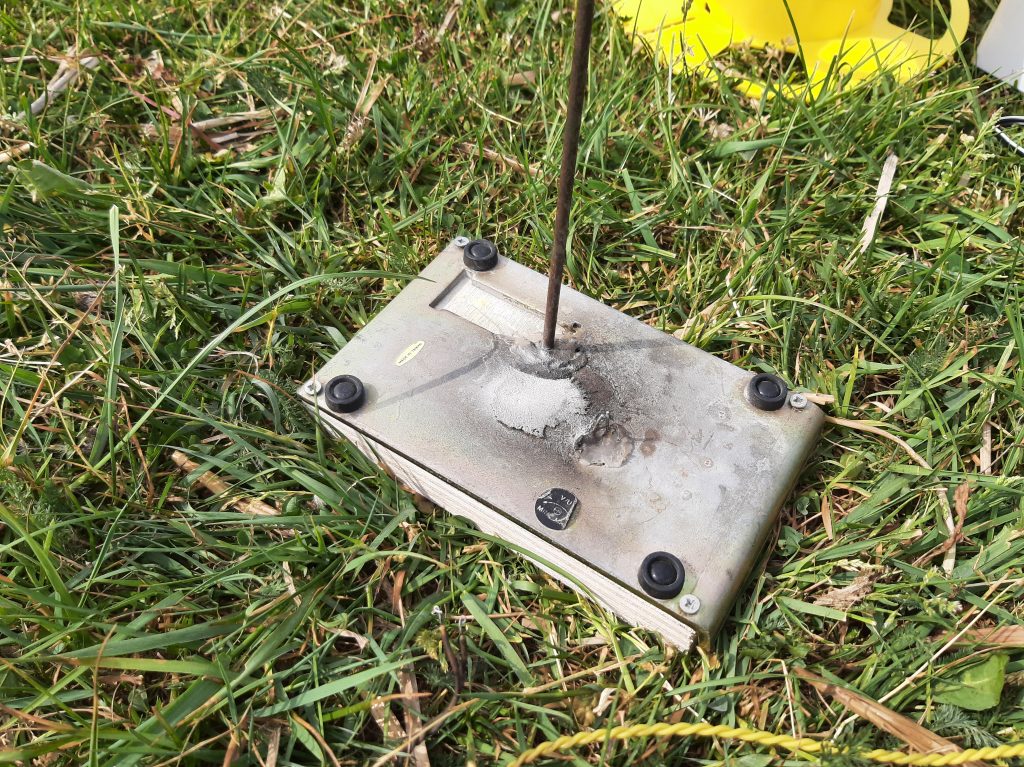
Then, the launchpad was deployed.
The megaphone looking thing on the right is the Safety Announcement System.
Its a walkie talkie, which I modified to output audio over a 3.5mm jack, which feeds into a amplifier, which goes into a loudspeaker.
This was used to broadcast the countdown to ensure everyone in the area knew sh*t was about to go down.
Lastly, after checking all systems were functional, the igniter was very carefully inserted to the aft bulkhead, to ensure proper ignition.
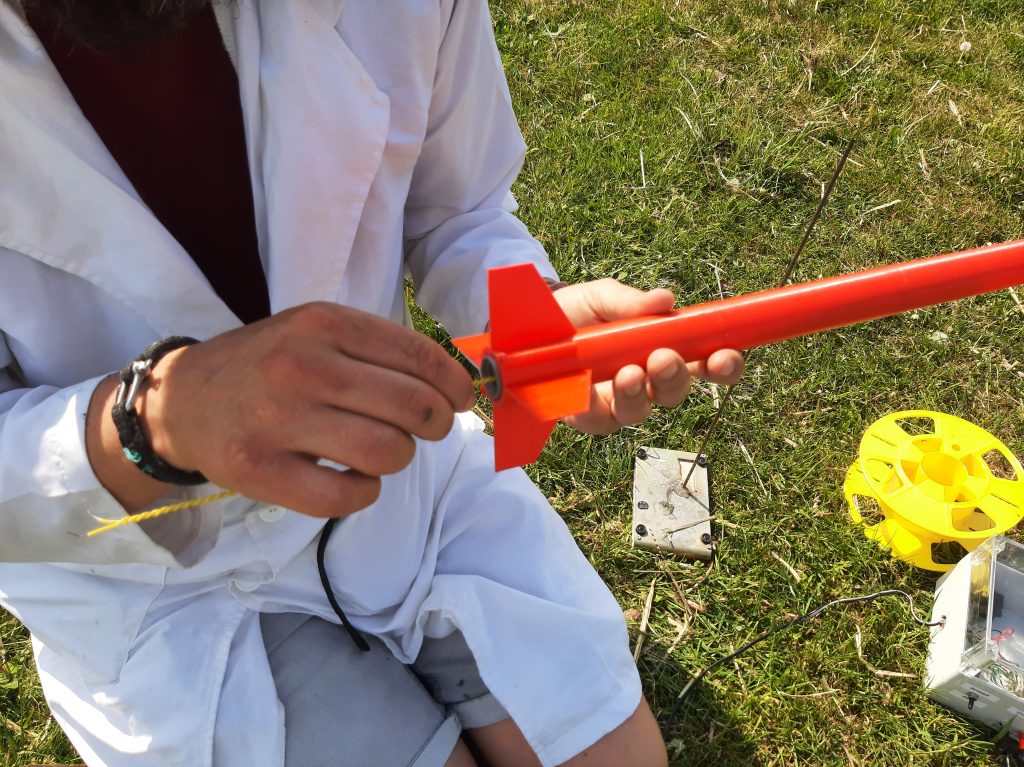
Then, and only then, was the igniter hooked up to ICBM-B
After everything was checked and the double checked, all camera’s were positioned and rolling, all planes flying overhead had passed, and everyone had reached a safe distance, it was time for
The Launch
The launch went perfect.
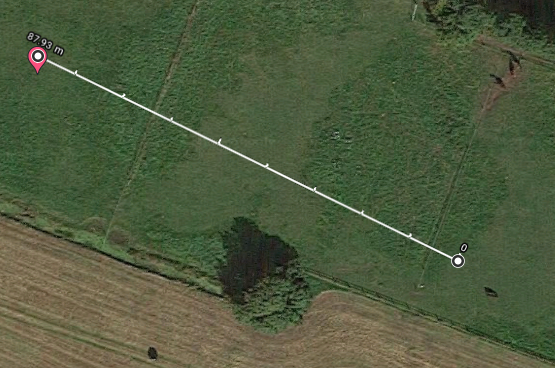
It went straight up, to what I believe to be more than a hundred meters, and then came straight down, just like the simulations.
The whole ordeal only took 10 seconds (5 up, 5 down)
And, of course, I did my best to record it.
Due to the rocket only being 3 cm’s in diameter, and landing 85 meters away, you can’t actually see it landing on the video’s
Here is a very zoomed in still I took from one of the video’s showing the 7 pixels that is Perigee descending.
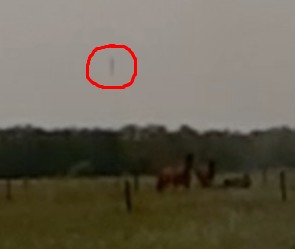
For the record, it was perfectly visible during its entire flight with the naked eye
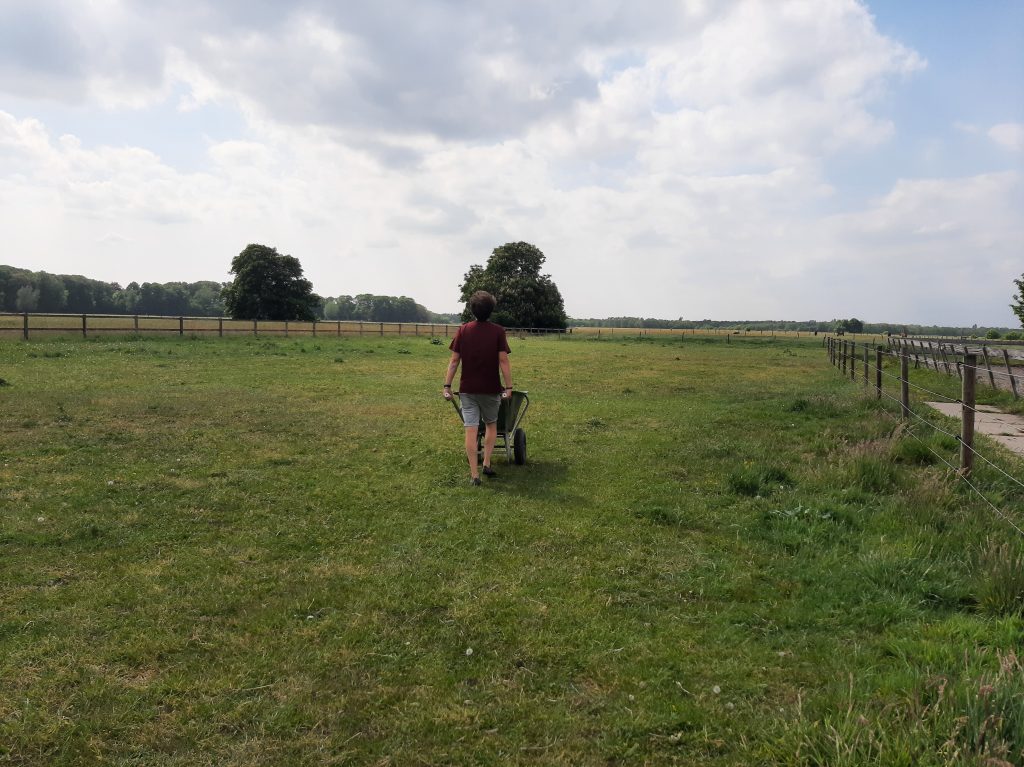
After this fantastic launch, we attempted, and succeeded at recovering the rocket.

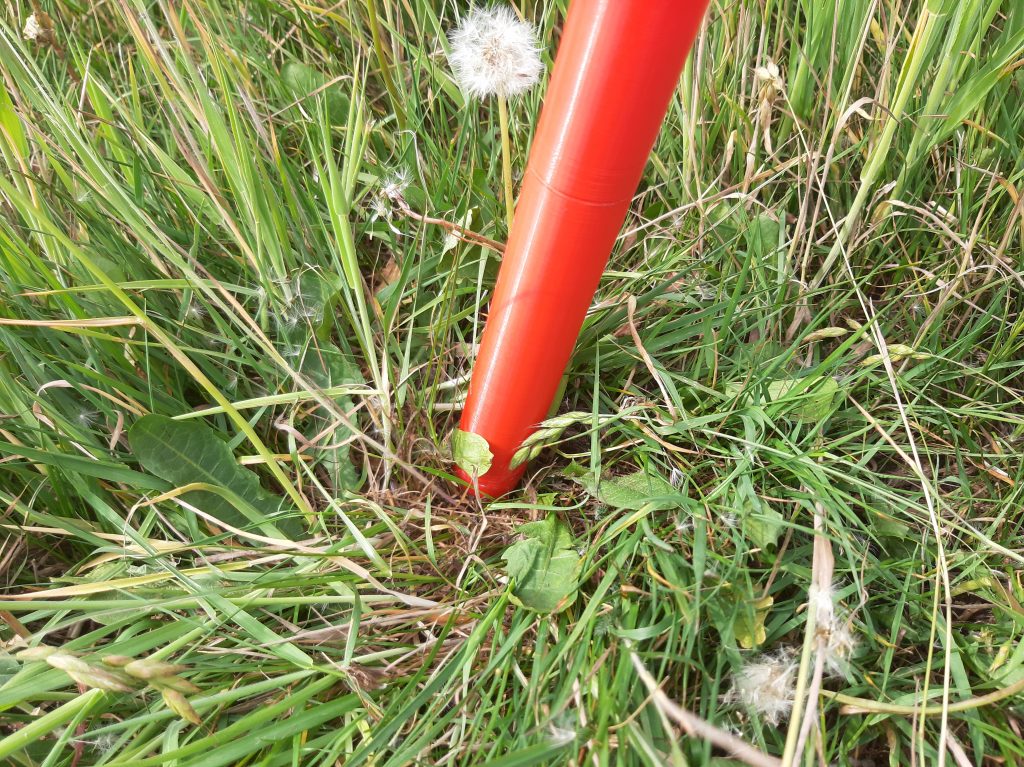

As stated previously, everything went perfectly, and I could not be happier about it.
After more than 2 years of near constant development, dozens of tests, hundreds of iterations, I- no, We, built something that not only worked, but something that worked well.
A special thanks to my fellow rocketeer Remco, for helping me with basically everything these past few years.
And I would like to thank M, for so kindly providing access to her rather sizable fields so that we may test our rockets without causing danger or disruption.
On to bigger ventures!
The reward for work well done is the opportunity to do more.
Jonas Salk
Namens P.
ik vind het cool.
je kan hem heel ver laten vliegen
ik vind het knap hoe je de raket hebt gemaakt
ik zou ook wel zoiets willen leren
ik ben gek op Sonic
Kan jij zoiets heel snel laten rennen?
kun je hem echt laten maken, met praten en zo
ik heb ook inspiratie nodig met filmen
en hoe je dingen in de film plakt, bijvoorbeeld characters
ik vind het heel leuk om hiernaar te kijken
ik ben 13 jaar
Hey Denneth! I met you at the last NAVRO/NERO/DARE launchday.
Congratulations on this beautiful launch! Really cool that you managed to squeeze all that rocket body in just 50 grams. I hope to see you in the ‘small rocket project’ at DARE somewhere in the next few years!
Groetjes,
Mark
Hey Mark!
Thanks for dropping by, and thank you for pointing me to the ‘small rocket project’, I will make sure to sign up when I join TU Delft.
Groetjes,
Denneth