Edit: This method of construction has been deprecated for a long while, and has been superseded by a cast KNSB propellant, which is easy and safe enough to cast for me to use that instead of this method
Here I will try to document the process used to make the rockets shown in my previous post about the rocket tests
specifically these are the ones shown in the self propelled tests
(Disclaimer, i don’t recommend you build these following my instructions, i don’t yet know what i am doing and they are not great, i will link my source for the building process of these down below)
First, some Specs
- A 60 / 40 mix (by weight) of Potassium Nitrate (KNO3, Saltpeter) and Sugar, ground up to a fine powder and dry packed into the casings
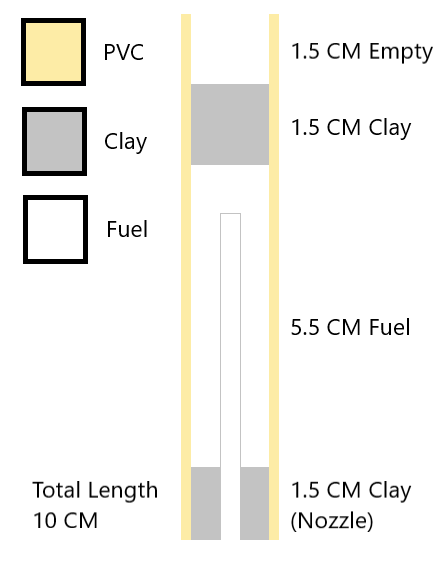
- The casings consist of PVC pipe, in this example electrical routing pipe of a diameter of 15 mm (Thicker water piping would be superior but this is what i have)
- The Clay endcaps are made from Powdered Bentonite Clay, obtained from grinding up the cheapest kitty litter money can buy
- It is dry packed with a rubber hammer using a wooden rod marked so you know when you have packed enough material (pictured below)
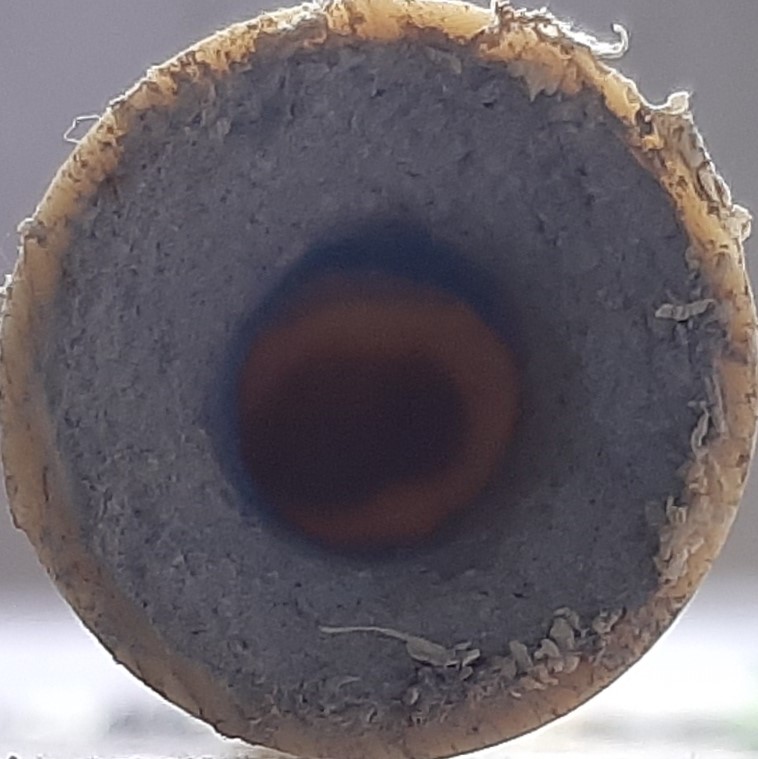
- After the packing a core is drilled out by hand using a drill bit (in this case 5mm)
Here are some pictures


The process i used to create this, step by step
- Cut a 10 CM piece of PVC Piping
- Separately Grind up 60 grams of Saltpeter and 40 gram of sugar
- Carefully mix it (taping two cups together and shaking in this case)
- Place the PVC Pipe Vertically on a Sturdy surface
- Get some ground up Clay and compact it until the first line
- Pour in Fuel and carefully compact until the second line
- Repeat with Clay until line 3
- Take the drill-bit and Drill out 75% into the fuel, forming the nozzle and core
- it is now done, insert fuse or electrical igniter and light to use
Once again, this is just documenting my process, if you want it told by someone competent, check out the video by the (now passed) Grant Thompson, which i based my design off
I do quite like the result i get with these, and further tests and improvements will be made and documented here
Click Here for a demonstration of this Engine (5 meter test)
