
With a few notable exceptions in manned spaceflight, nothing is built on top of nothing.
As eluded to in my previous writeup, I intend for my Control Panel to be mounted as modules in a custom built 19-inch rack.
As I also noted, full size1Usually meaning 42 Rack Units of capacity 19-inch racks are prohibitively expensive2For me, at least, and because they tailor to industry, IT, telecommunications, and the like, they are usually much too deep for my humble usage as well.
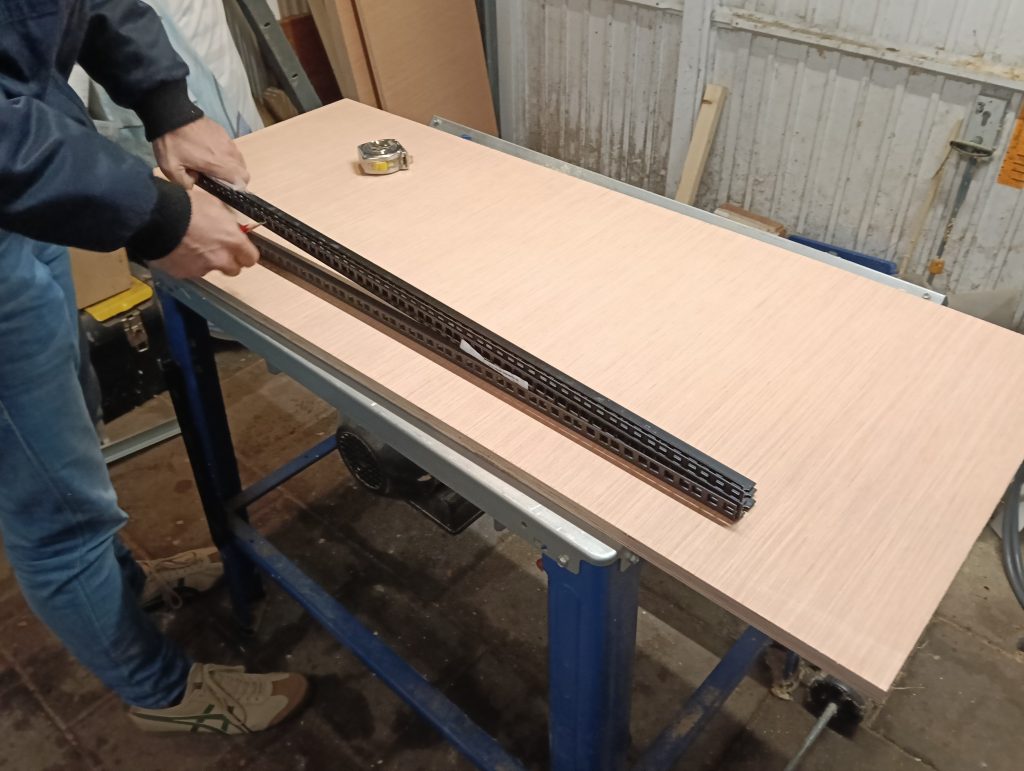
All of this, as well as finding out I could purchase pre-punched rack mount segments (used by musicians and their technicians to mount equipment into flight cases), led to the solution of a custom built cabinet, which has since been constructed.
Now, I might be able to build simple circuits, lay out PCB’s, and do some experimental rocketry, but woodworking3or making much of anything structural or sizable is not something which I’ve had much practice in just yet.4A crippling lack of a shed makes it hard to do large and messy projects, soldering circuits meanwhile can be done at a small desk.
Luckily I am not alone in this world, and a good friend of mine who is an excellent woodworking amateur has helped me with my plight.
My initial plan was to buy square steel extrusions, cut them to length, and then fuse them together either by utilizing a friend with a welder or trough pressure fit plastic edge pieces.
My aforementioned woodworking hero friend strongly advised against this, and recommended going with thick multiplex instead, which he then offered to help me design and build.
Given how my previous attempt at building something out of steel went, I could not be happier that he offered this, as I would not have this rack otherwise.
This is making the entire project possible, and I can’t thank him enough.
We started by drawing up a plan on a piece of paper, me laying out the specifications, and my friend translating it to the practical realities of wood as a building material.
My specifications, for those interested, were as follows:
- 19-Inch Rack Mount Compatible
- So I can fit existing equipment I own, and build my own modules in a standardized size that allows easy transplantation to a possible future rack.
- 1.8m+ tall
- So that the maximum amount of frontal area is comfortably and easily accessible from the front, without the whole being impractically tall
- Not (much) deeper than it is wide
- Most modules are quite shallow, and roughly 50 centimeters of depth should be plenty to hold the sort of things I want it to hold, while not tipping easily, not taking up too much floor space (a very limited commodity), and without looking unsightly proportion wise
- Rigid enough that switches can be switched and buttons pushed without causing a noticeable wobble
- Built in two equally sized segments, bolted together
- This is both to facilitate moving, as I am unlikely to remain living here forever, as well as to allow for adaptability (namely placing the two modules size to size, or separately) if my future living circumstances turn out less than adequate for larger-than-life control panels
- Access trough the back to facilitate cabling where necessary
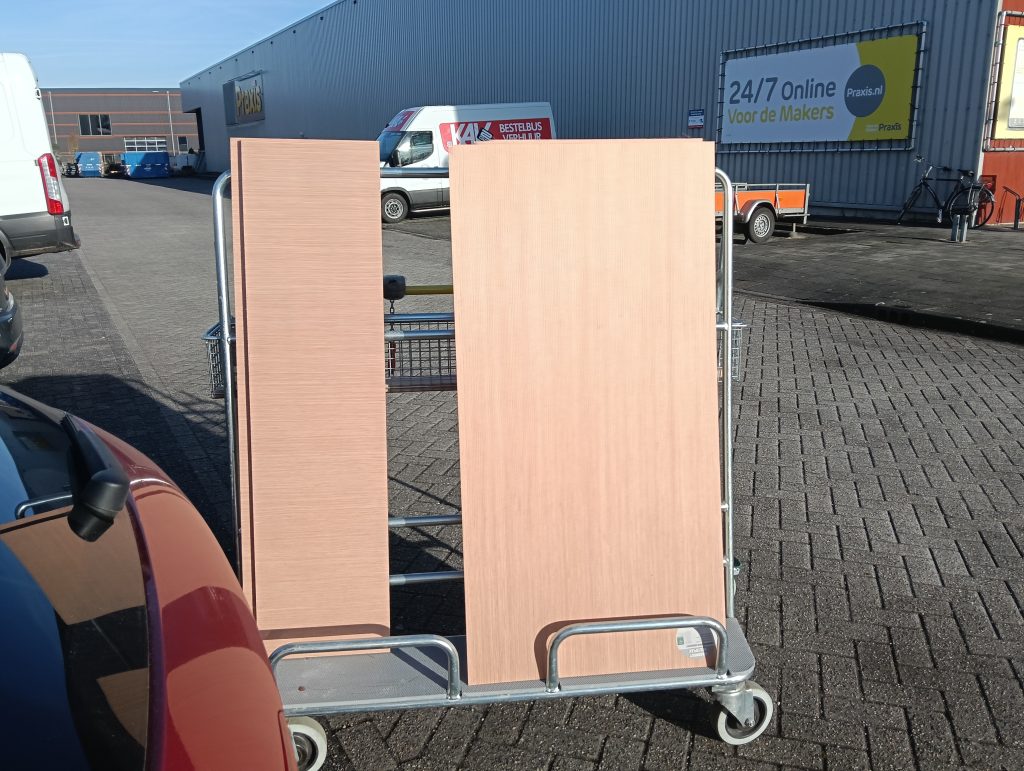
My friend determined that, using 2 large sheets of 18mm Multiplex, cut to size, we should be able to build something to those specifications.
I say we, but with my level of competence as well as the problem of “too many cooks”, I mainly held things steady and took pictures while he built the thing.
I cannot thank him enough.
Anyway, pictures:
The wooden plates were first sawed into pre-defined widths at the Hardware Store, as they have saws that are hard to beat at home.

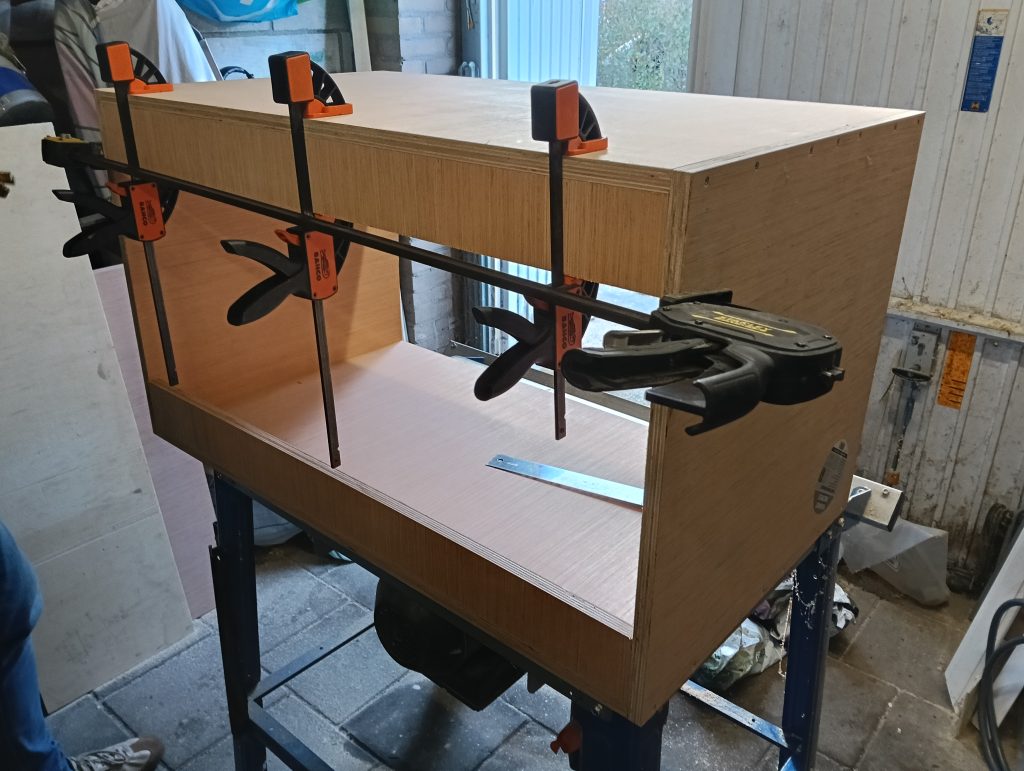
After sawing the tops, bottoms, and sides, we6read: he went to work getting those parts firmly held together with clamps and at a nice 90 degree angle so that my friend could drive some screws in
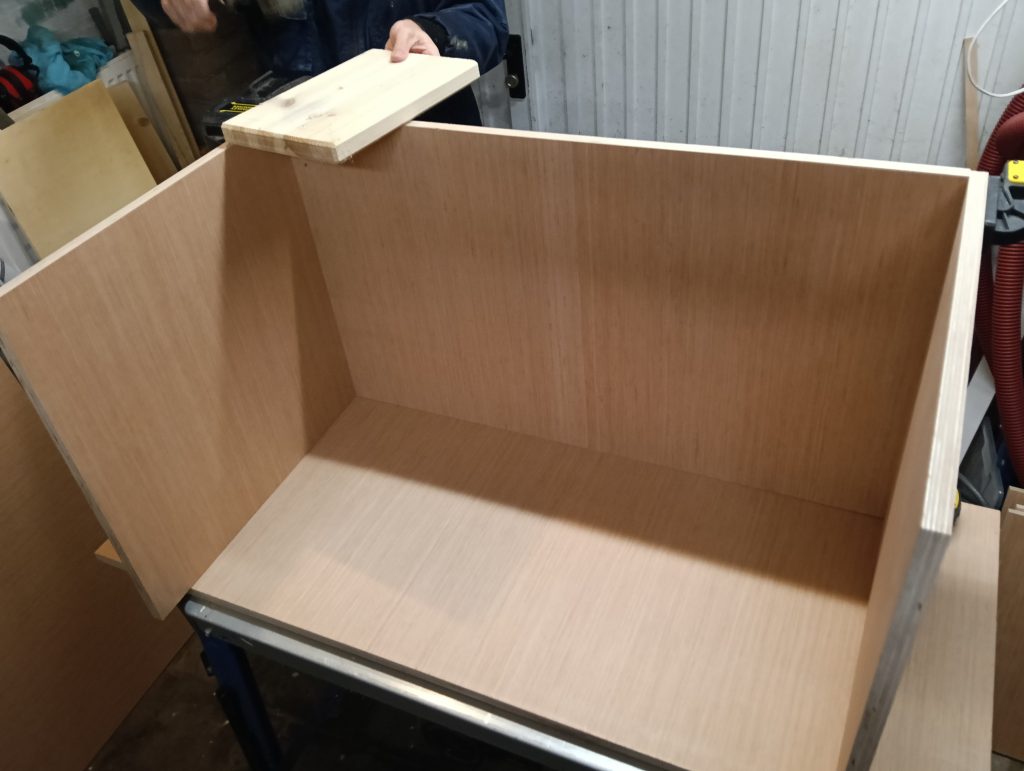
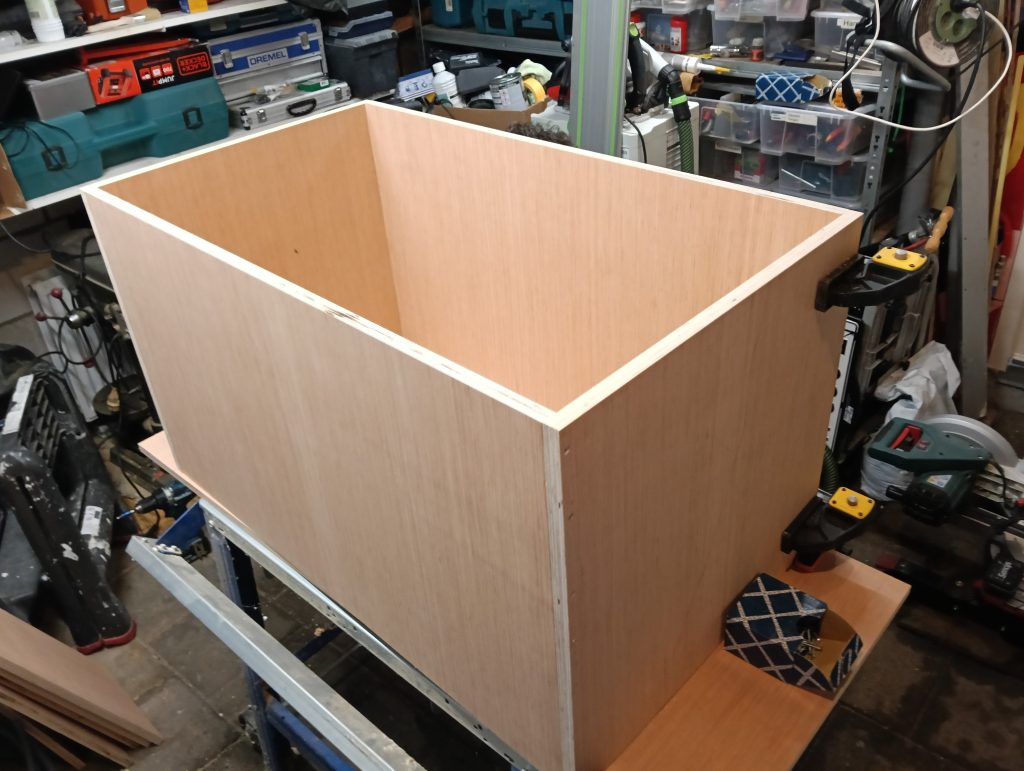
This quickly resulted in a large box which could comfortably hold it’s own weight, and made for a nice temporary working surface while we cut the next parts to size
Some reinforcement ribs were then screwed to the back side to prevent side to side buckling.8Although it was of course not the back side until we arbitrarily chose to add the reinforcements there
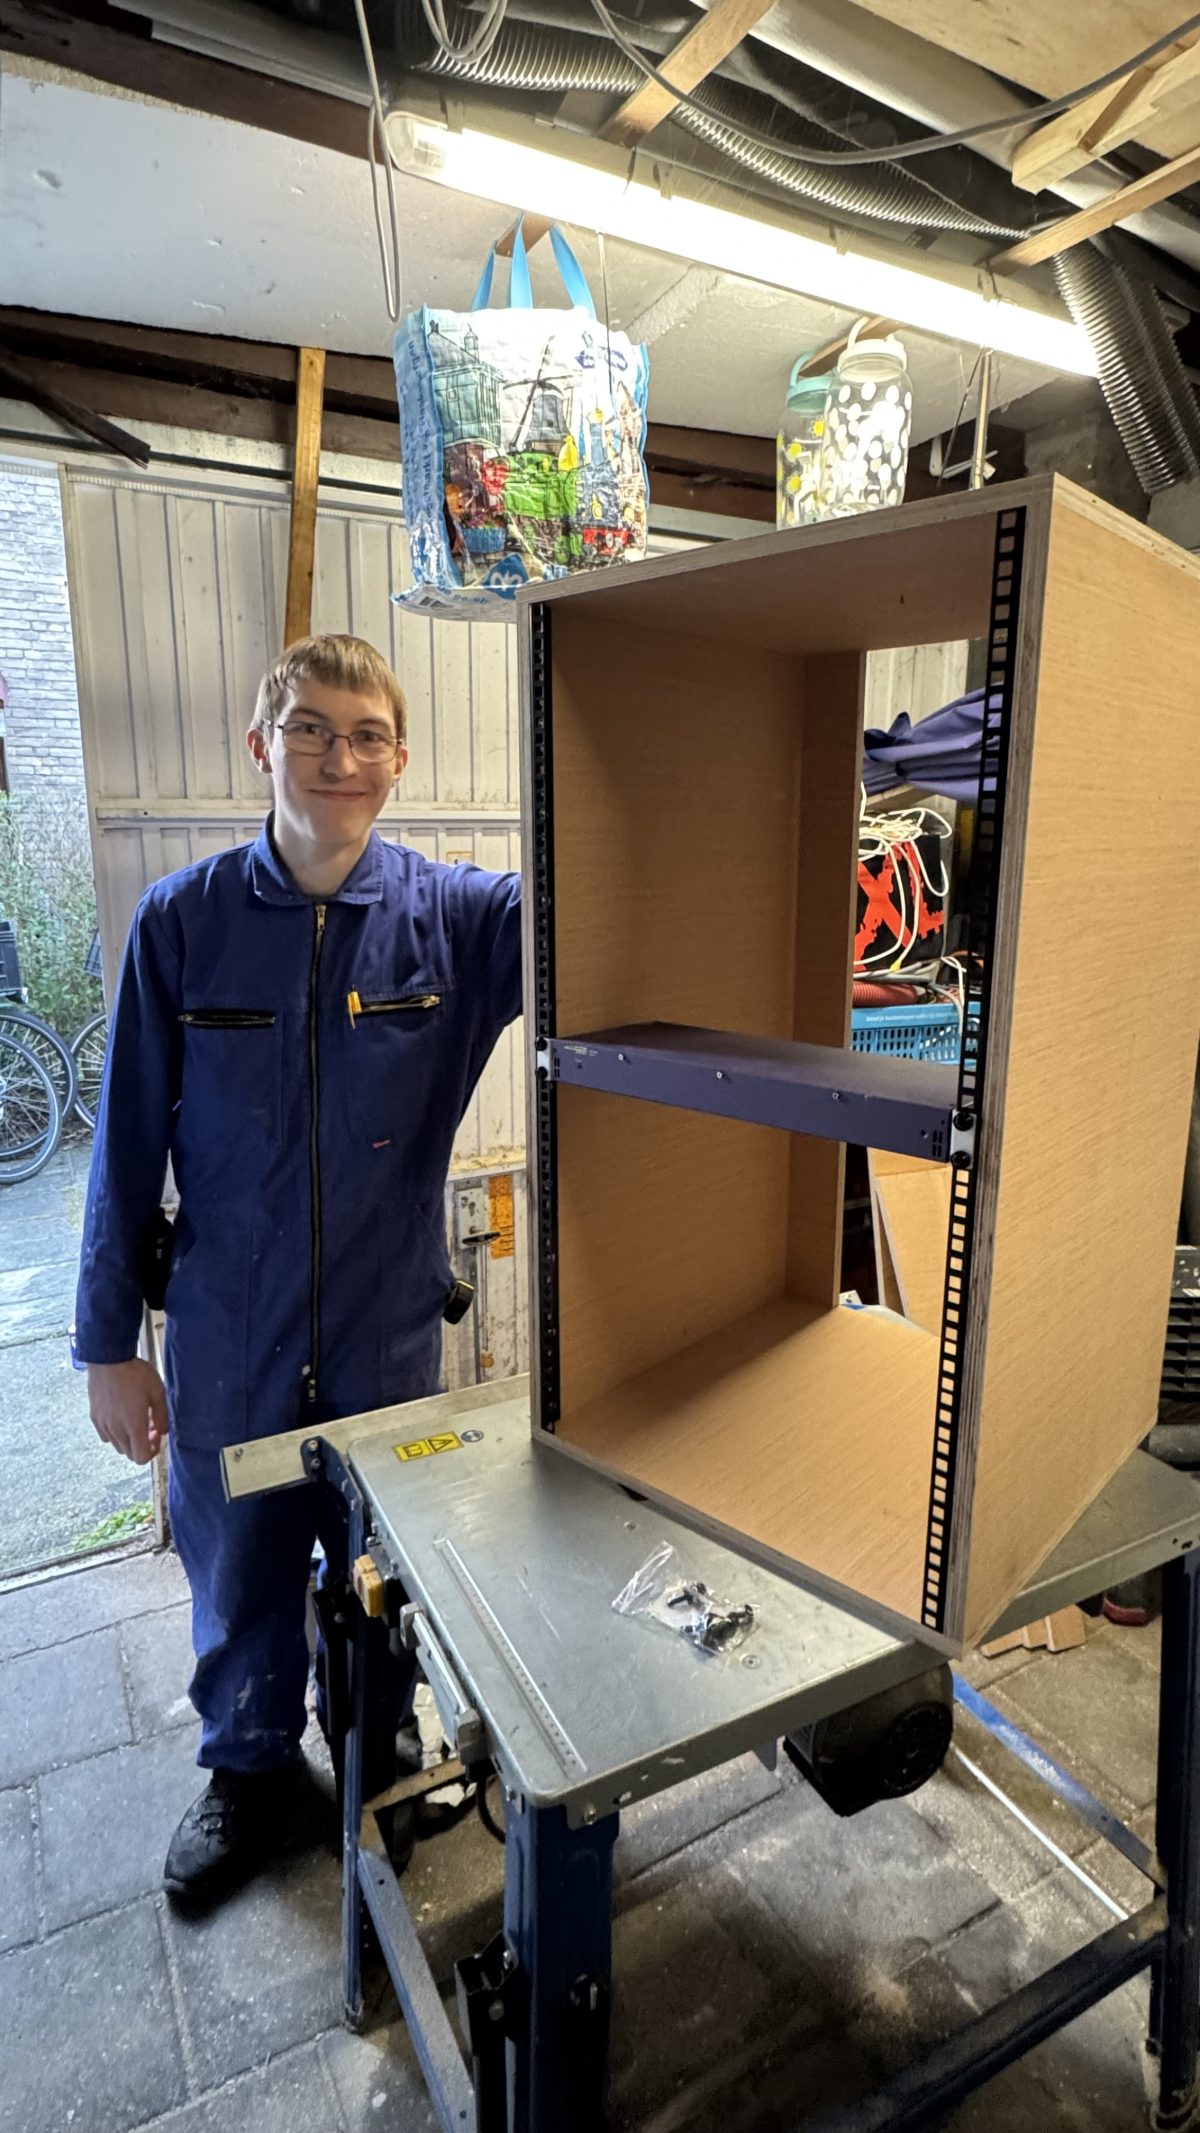
After those were screwed in, we went to work installing the rack rails.
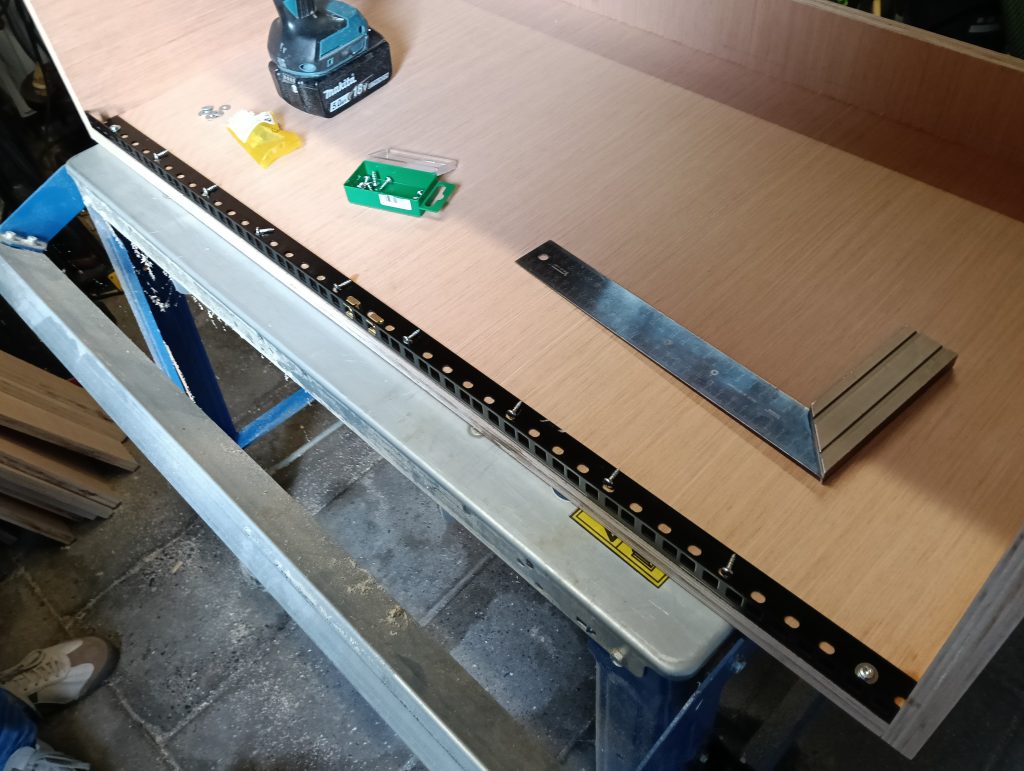
Followed by a quick (and triumphant) check to see if rack modules fit properly.

After a celebratory lunch, we went back in to build the second module, which means doing the exact same thing again, but way faster this time around.
It’s funny how things always seem smaller in your head.
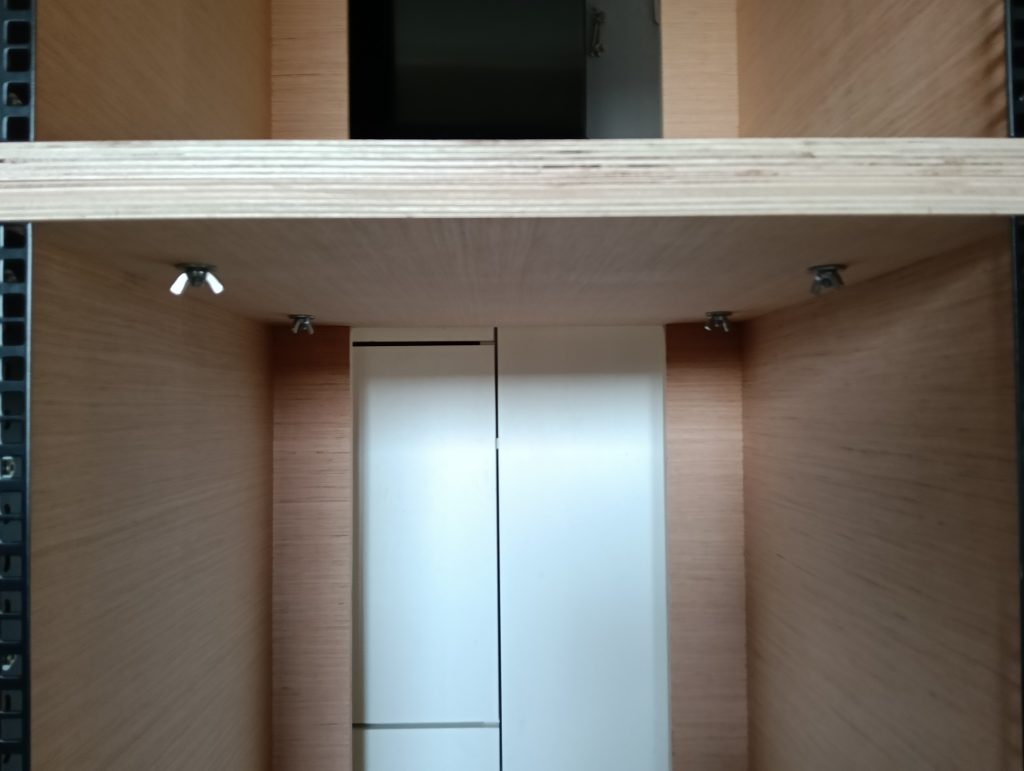
Last thing on the agenda was drilling a few holes for (completely oversized) M8 Bolts so that the two halves could be screwed together to make one sturdy shelf
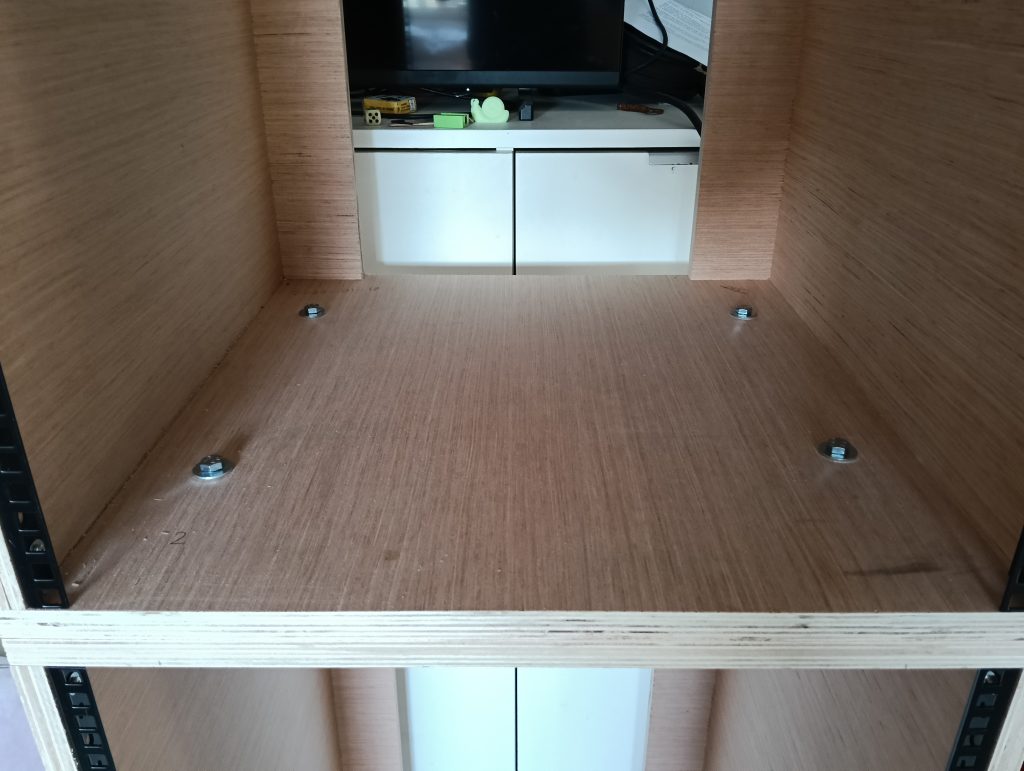
I do realize that this is a lot of talk about elementary woodworking on a website not dedicated to woodworking, but I hope this might inspire and guide someone wanting a 19-inch rack but not wanting to pay the utter premium those normally cost.
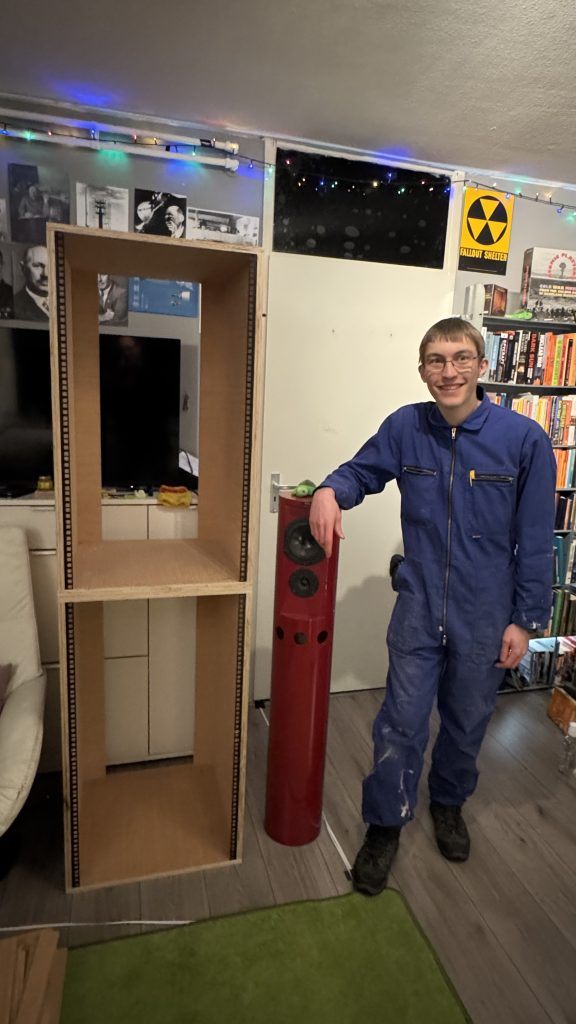
It is hard to overstate just how massive this thing really is, at least compared to regular furniture10Then again, that’s half the point
As you can see, it’s still in a state of bare wood.
I plan to paint it at a later date, but at this point in time, having a sturdy framework to start building modules into is more important to me than the aesthetics of said framework.
The completed rack is 40 Rack Units12One Rack unit is 44.45mm, which is a neater number in inches and I don’t want to hear about it, or 20U per module
This to me seems like a nice balance between size (tall enough to have lots of area at or near chest height for easy interaction), while not being overly tall (many “Full-size” rack units appear to be closer to 2 meters tall)
For reference, the completed rack comprising both modules is 185 cm tall, 53 cm wide, and 52 centimeter deep. With the rack rails taking up 89 centimeters per module.
Fun fact13well, a fact, at least: the 19-inch in 19-inch rack refers to the distance between the inner walls of the cabinet, as measured from the outside of the rack rails.
Due to the way the rails I have worked out dimension wise, to get things to fit, the inside diameter is exactly 49 centimeters.
Therefore I am christening this as following a new proprietary standard, the 49cm rack, which just so happens to be compatible with existing 19-inch rack mountable modules.14Or my own totally independent 49cm modules, of course
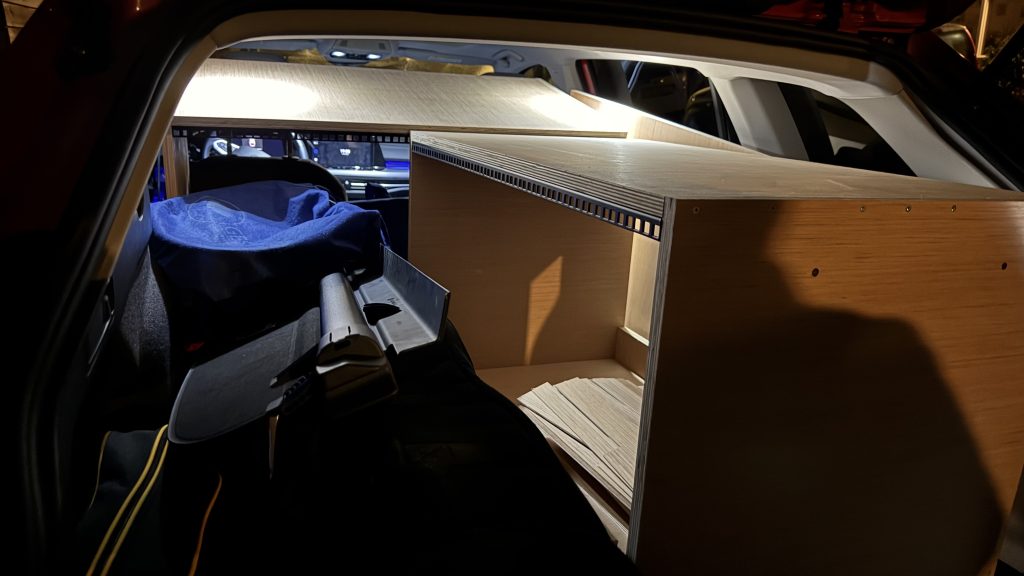
Next was the first practical usage of the rack, to prove it’s use in practice.
Since I have yet to build the modules intended to fill it15A bit of a chicken and egg problem, now resolved, has fallen upon my DIY HI-FI and it’s accessories.
I am still in the process of installing some of this, or modifying them to integrate better in their new environment, and hope to write more about it in a future article.
One thought on “The Great Controller: Building the Rack”